|
|
Post by osprey on Aug 22, 2007 15:41:21 GMT -5
Since last post I've got the ramrod thimbles and ramrod entry pipe inlet, although they need to be drilled and pinned still, and the trigger plate assembly inlet flush. Still working some on that, need better contact on the triggers to lock sear pin, only one is setting off the hammer at the moment, may have to add some metal to the fore trigger for it to make contact. Hope to solve that with the fellas tonight and get some of the bolts drilled and tapped to button up the lock/sideplate and trigger plate/breech tang. But it's actually beginning to look a bit like a gun now!!  Sika beware... |
|
|
|
Post by mikevb on Aug 23, 2007 6:47:36 GMT -5
Percussion or flintlock?
I shoot a T/C Renegade flinter. Building my own rifle is another one of those things on my "to do" list.
|
|
|
|
Post by osprey on Aug 23, 2007 12:33:42 GMT -5
Flint! Watch out Mike, it's pretty addictive...
Got the bolt through the breech and trigger plate drilled, tapped, countersunk and put together last night, but didn't get to the lock and sideplate - had to go back and do some bedding compound to get them perfectly square, so had to let that dry overnight.
|
|
|
|
Post by osprey on Aug 25, 2007 15:50:35 GMT -5
Been busy so far this weekend, too hot to do much outside so I been gunsmithin'!  Here's what I go through on every part that has to be inlet into the wood, some are worse than others, but either this tigger guard was easy or I'm getting better at it. Here's the stock with the trigger plate all in and done, center line measured and drawn, first holes drilled to depth for the trigger guard tangs... 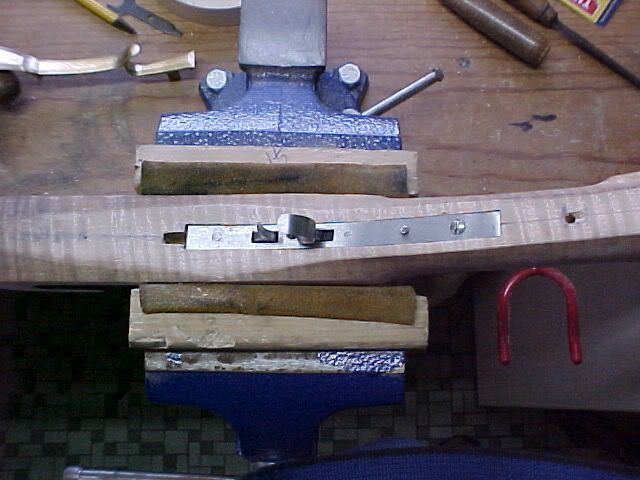 ...and here's the guard with the front tang started in its hole... 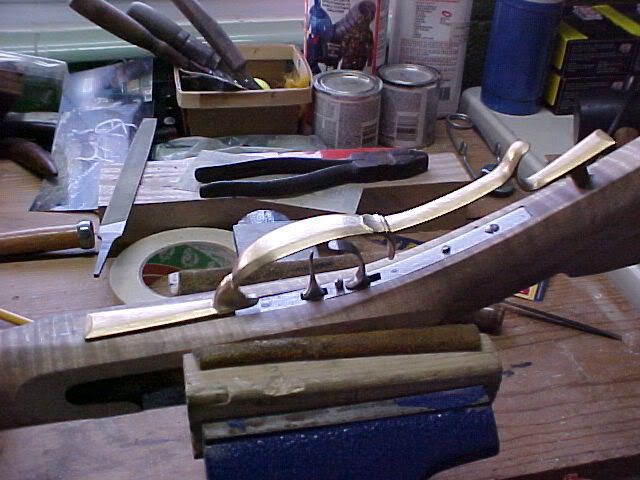 ...marking/scribing the outline of the front plate. You gotta take a file and file it at a bit of an inward angle on the sides so that it seats well into the wood, then scribe with a knife at the same angle along the part... 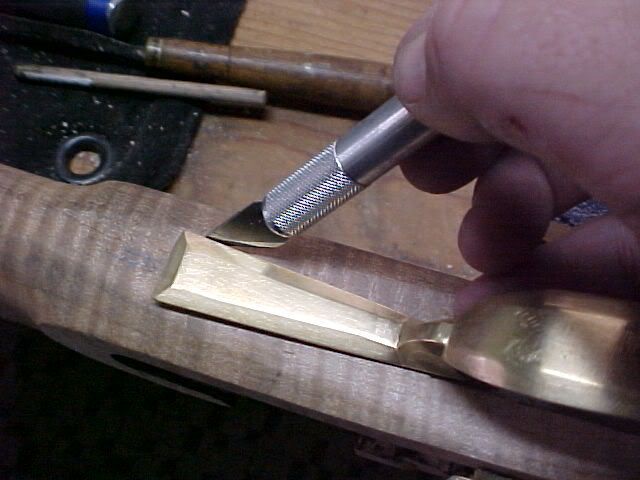 ...and when you lift it you get something like this... 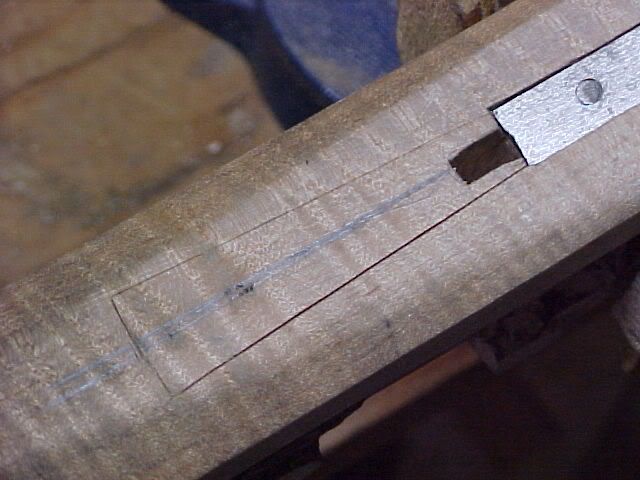 Then you take the knife and side cut in a safety channel along the inside edge, like this. It keeps you from pushing chisels out past the area you want. Most of the time.  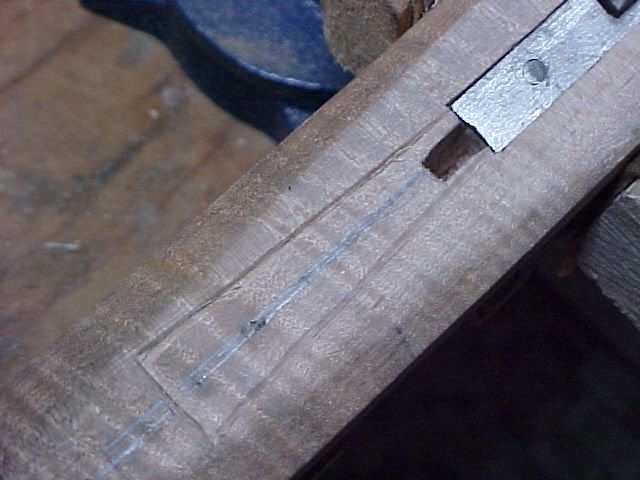 Then chisel out to what you think is deep enough. Trigger guard should be set half the depth of the brass, other parts vary... 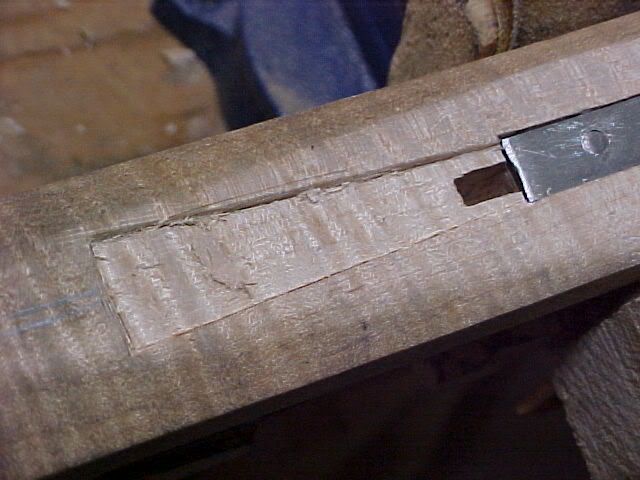 Now it's time for the magic stuff - Inlet Black!!! 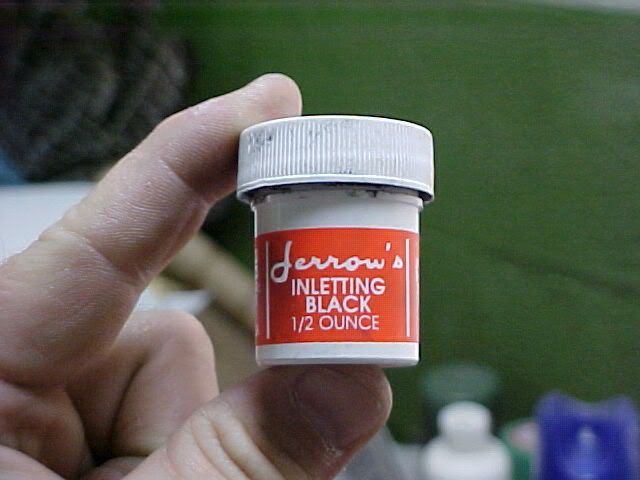 Coat the inside/bottom of the part with the black, I use Q-tips, and it will look like this... 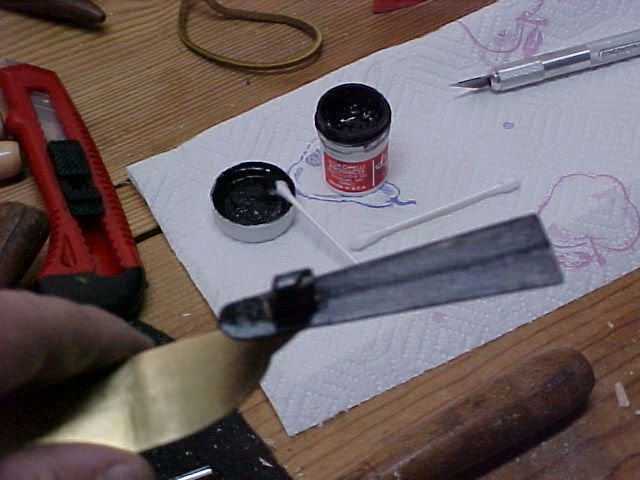 Now put in place and tap with a rubber mallet... 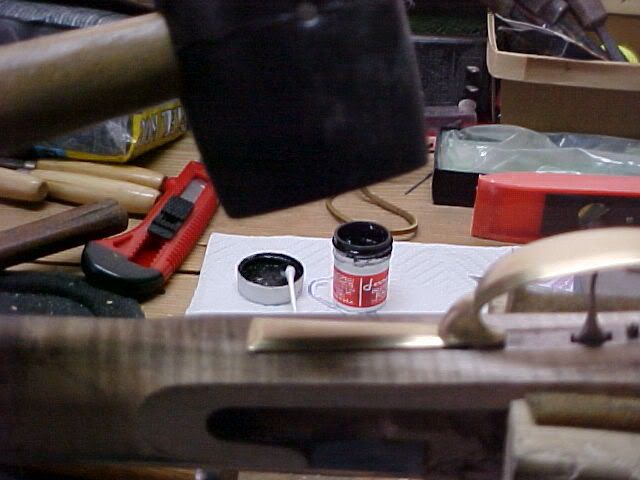 The black transfers to anything it touches, which are the high spots making contact. Cut this away, try again, and re-do about 100 times, or until the depth and set you need. These are high spots to be cut down... 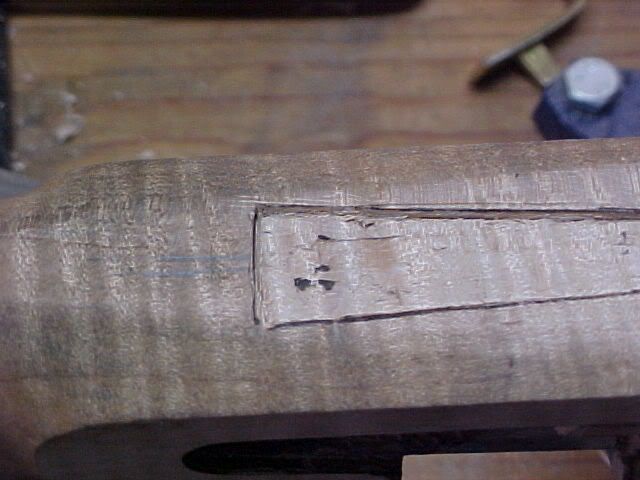 Oh yeah, sometimes there is metal work, too. Had to cut the tang narrow to clear the trigger plate, now have to file the guard a bit to get it to fit at this junction... 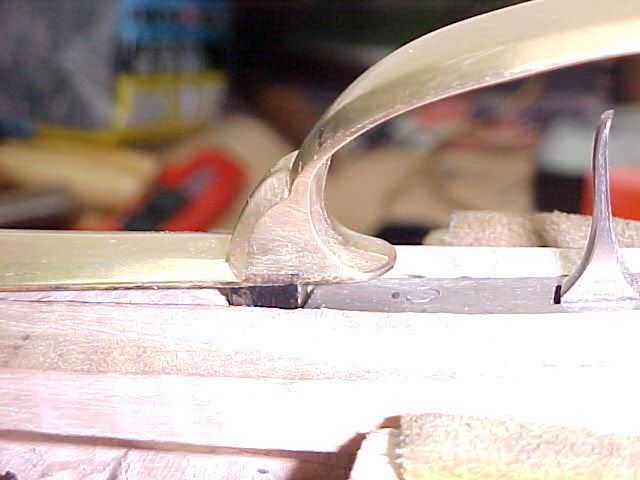 And the finished front tang of the guard... 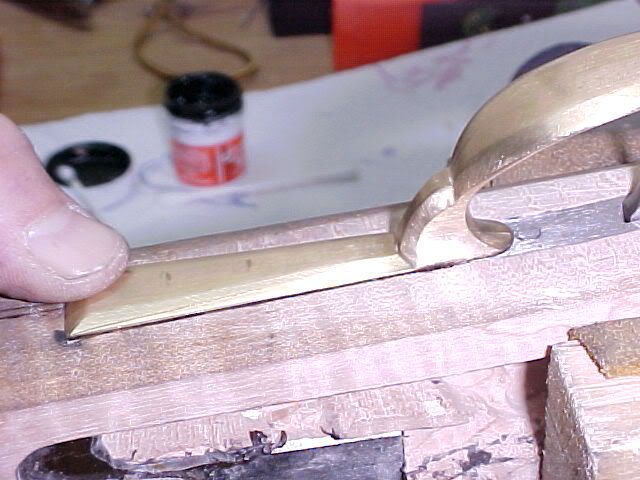 Do the same for the rear tang... 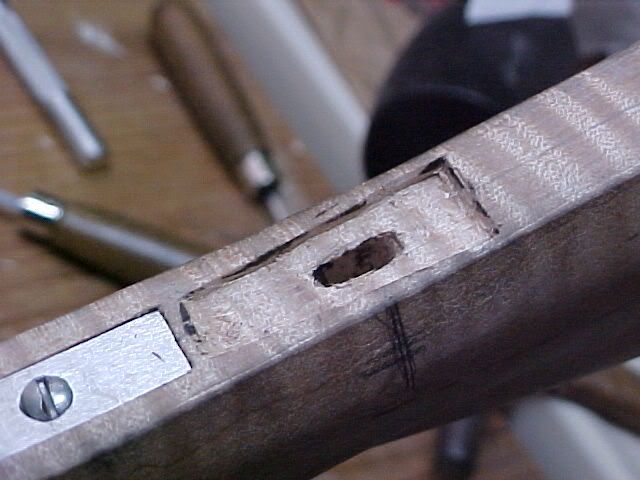 ...fit it, mark and drill a small hole through the stock and tang, then pin it tight. This is a temporary pin, won't cut and file the finish pins until everything is almost done...  ...And this is how it ends up!  |
|
|
|
Post by osprey on Aug 25, 2007 15:55:56 GMT -5
Also did the nose cap today, and geez that had me sweating. Not much wood left when you get it fit and you DON'T WANT IT TO BREAK!!  This is it, with some of the bigger pieces of wood that had to come off. It was all the same size as the forestock when I began... 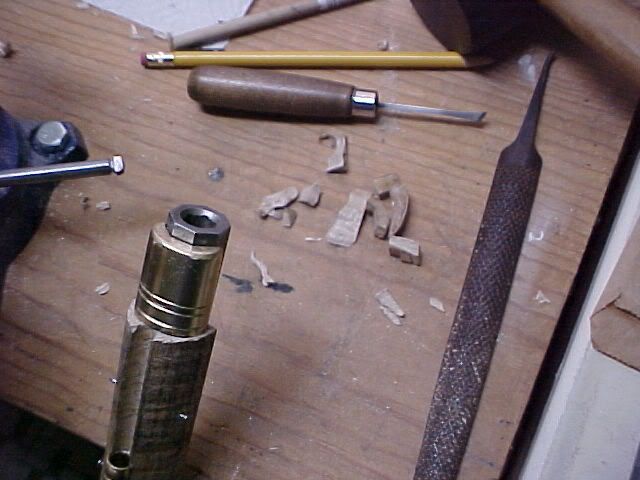 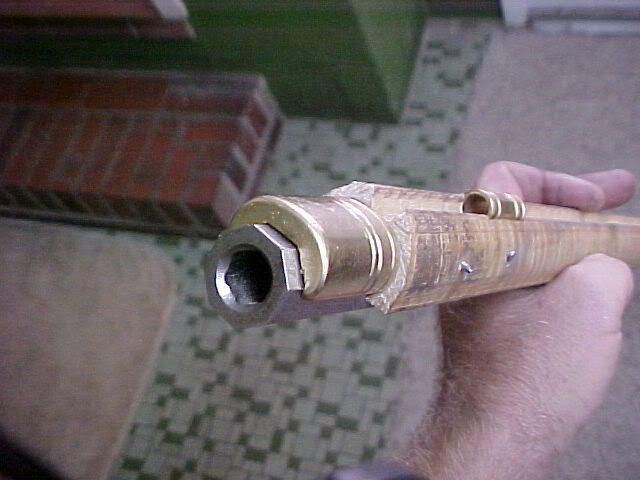 |
|
|
|
Post by davep on Aug 26, 2007 6:58:13 GMT -5
GREAT WORK!
AND PICS!
The grain on that stock is going to look great when she's done!
Between your pics and Steve's CONSTANT flaunting of his projects, you guys are FORCING me to get into yet another project that I simply don't have time for!
|
|
|
|
Post by osprey on Aug 26, 2007 9:09:50 GMT -5
Isn't peer pressure great!?!?! Come to the dark side Dave... Seriously, you should come to one of the Choptank shoots with Steve, next one is September 9th. |
|
|
|
Post by davep on Aug 26, 2007 20:32:09 GMT -5
;D Isn't peer pressure great!?!?! Come to the dark side Dave... Seriously, you should come to one of the Choptank shoots with Steve, next one is September 9th. Lord knows when I'll get to one! Another friend over that way emailed me about a "Battle rattle" the same day over that side. Can't make either unfortunately. I do plan on taking the kids to a Junior rifle comp. on the 2nd, so at least SOMEONE will get to shoot.  If I see Steve this week, I'll tell him to bring his grilled osprey recipe.Mmmm. |
|
|
|
Post by BuckMaster on Aug 26, 2007 21:44:01 GMT -5
Great thread Osprey! Like the pic!
|
|
|
|
Post by osprey on Aug 30, 2007 17:01:10 GMT -5
Great thread Osprey! Like the pic! Thanks, I've got to take a few of the latest, we got the lock bolts drilled and tapped last night, all I've got to do is bevel and inlet the side plate and it'll be all buttoned up. Going to drill the touch hole and tap in the touch hole liner next week, and then even though it won't be done it'll be ready for FIRE & SMOKE!!!! After that the fun stuff starts - stock shaping, relief carving, silver wire and ornamental inlays, got some neat ideas I want to do on that. Hope it comes out okay. Figure a month or so for that if I work steadily on it, then another week or two for final sandings, buffing, staining and sealing. Going to be iffy for the October season - even when it's done I've still got to figure out loads and sight it in... |
|
|
|
Post by davep on Aug 30, 2007 17:50:00 GMT -5
A buddy's father has been making them for a LONG time.
I mean he cut a black walnut on the family place 30 years ago, and sawed it into stock blanks, still racked!
He carved some bone into intricate figures, then inlaid them.Relief carvings,wirework, engraved brass,EVERYTHING you could think of,and more.
Heck, he even made a side by side, dbl barrelled flint pistol!
He thinks WAY outside the box.
(Wait until you see me moose scapula paddles!)
|
|
|
|
Post by osprey on Sept 6, 2007 15:14:31 GMT -5
Still making steady progress, been doing some bedding compound work to get a few spots to fit tighter, got the sideplate all inlet... 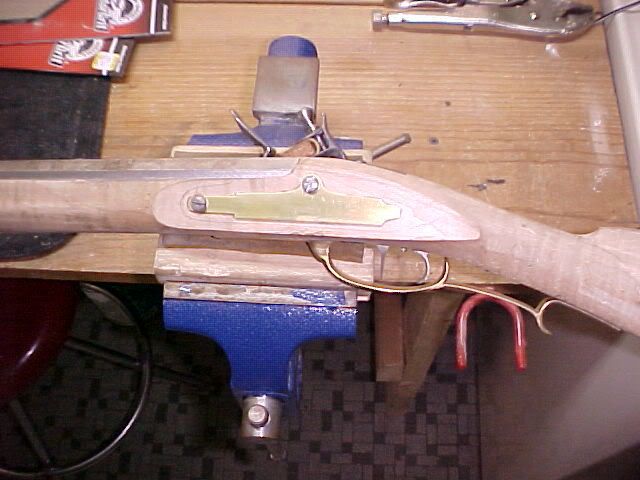 Tuesday went to one of the fellas' home shop (retired machinist, he's got some very interesting tools! Metal lathes, milling machines, etc) and we drilled into the barrel, tapped the hole, coned the breechplug face, installed the touch-hole liner and filed that flush. With a flint and some powder it would now shoot, the little tiny hole over (under in this upside-down pic) the pan is what all that work accomplished... 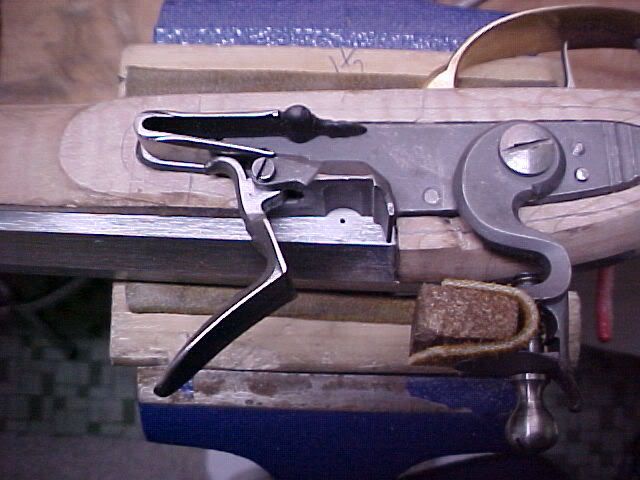 Last night we cleaned up some things to make them seat better and then I worked with a sharp knife, rat-tail file and sanding blocks to make this molding on the comb, it started as just a squared off edge of wood. Really makes it start to look like a long-rifle now. 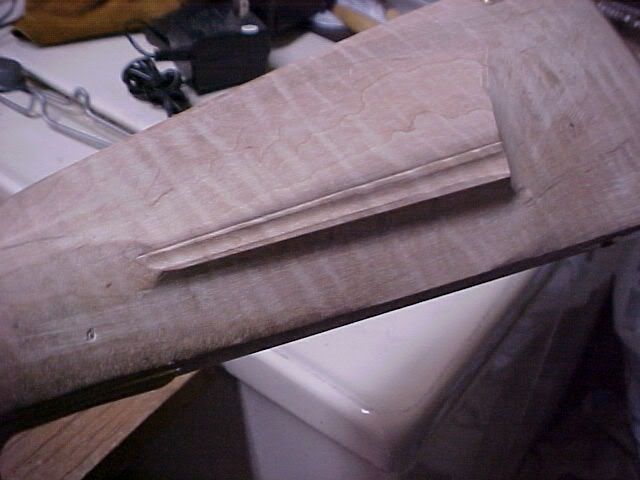 |
|
|
|
Post by osprey on Sept 6, 2007 15:17:37 GMT -5
Also tested some stain colors on a section of the stock that has to be thinned yet, I like this combo a lot. Will look better on a smooth sanded stock, especially after oil finish, but it really shows the curly maple grain. ;D 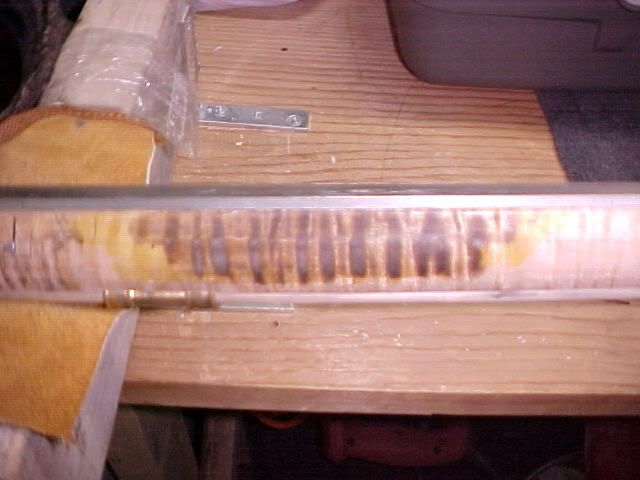 |
|
|
|
Post by sikaseducer on Sept 7, 2007 9:30:51 GMT -5
Lookin better all the time. Heres wishin you a big ole stag with that long ole gun. Doug
|
|
|
|
Post by osprey on Sept 9, 2007 12:05:02 GMT -5
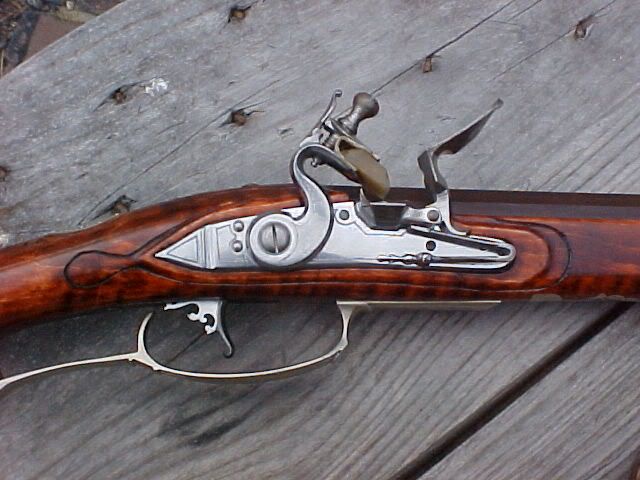
Worked on it some more yesterday, got the lock and sideplate panels drawn on, filed/sanded down and done to size. They are cut generously on the factory blank, but need to be much smaller on a finished gun. We made a paper cutout to size on the lock side, then transfered that to the sideplate side to match. Here's the sideplate panel with it drawn on in pencil... 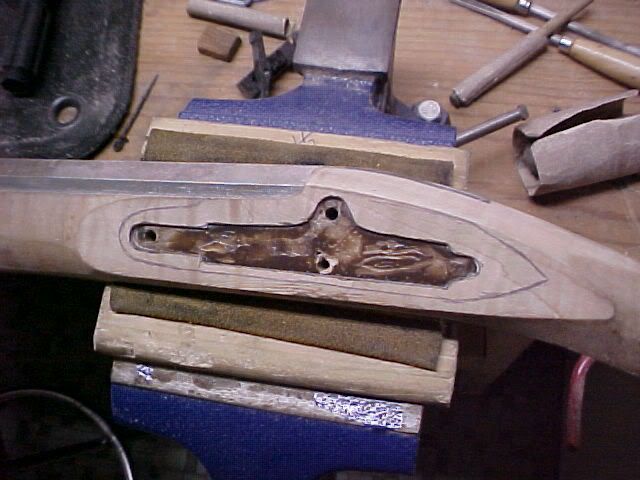 ...and then with it done to size... 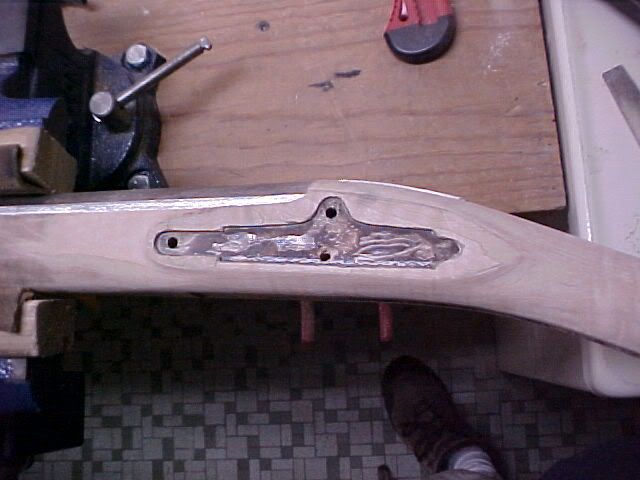 ...finally with the sideplate back on... 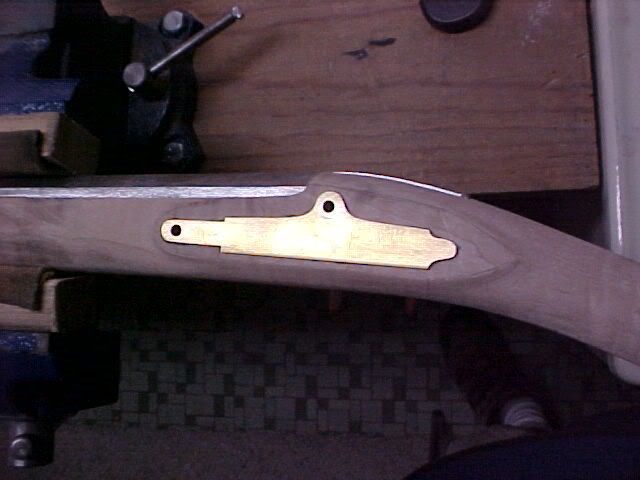 Here's the lock side all done. It took about 3 hours to do both with small files, sandpaper wrapped around dowels to get the right curves, and a sanding block. 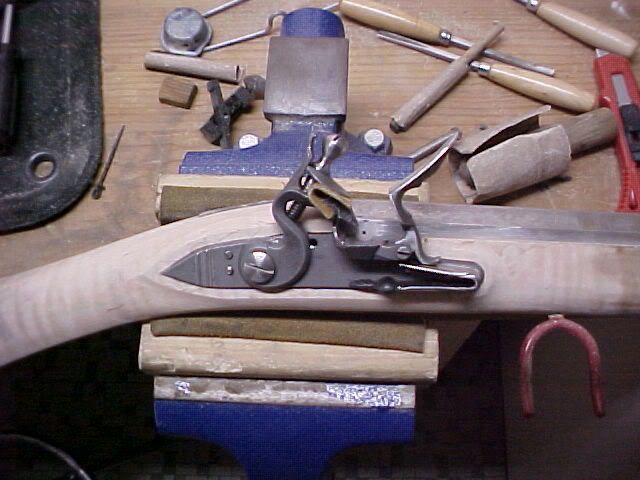 |
|

 Sika beware...


 This is it, with some of the bigger pieces of wood that had to come off. It was all the same size as the forestock when I began...
